Sign up for LabArchives
Create your LabArchives account in a few easy steps.
- Go to one of our regional servers:
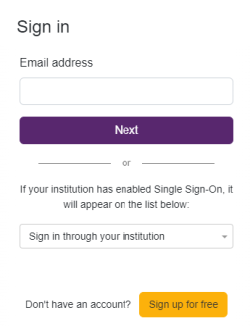
- If your institution has enabled Single Sign-On, select from the Sign in through your institution dropdown list.
- If you would like to create a free account, click Sign up for free.
- If you have a site code, click Sign up with a site code.
- An Activation Link will be sent to your email. If you do not receive the Activation email, please check your Spam folder.
Create a Notebook
When you create an account, a notebook will be made for you. You can customize this notebook using the page and folder structure.
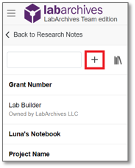
- To make a New Notebook, click the + on the list of notebooks.
- In the Create New Notebook window, name the notebook, select a folder layout, and click Create Notebook.
Organize Your Notebook
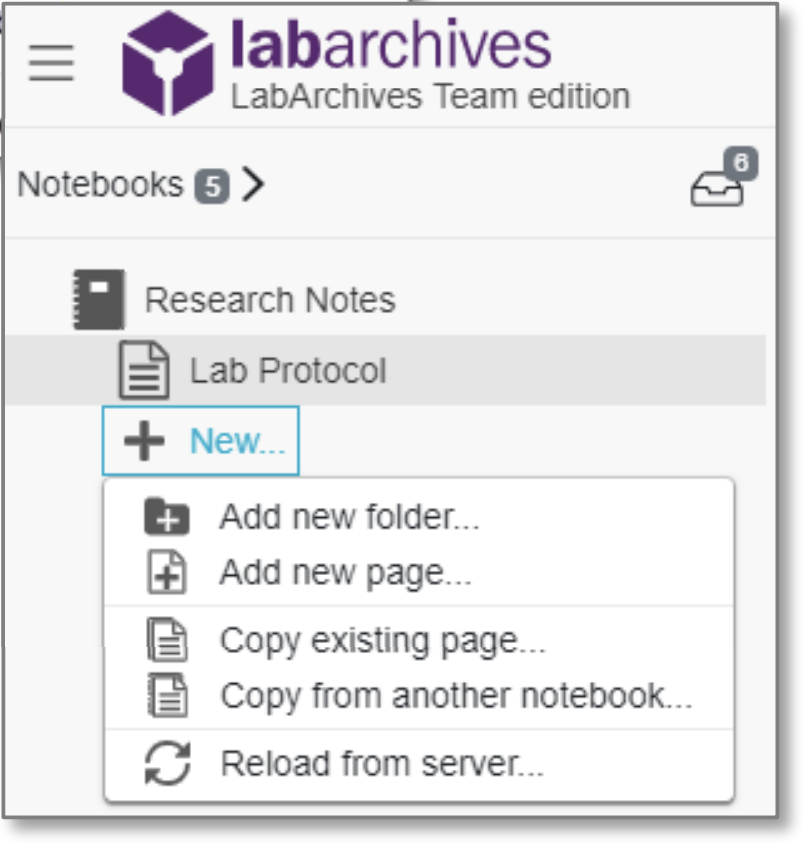
Once your Notebook has been created, it can be organized with a system of folders and pages. You can rename, move, or delete the folder structure based on your needs. You can organize your notebooks by project, researcher, instrument, or create a standardized folder structure for multiple notebooks.
- To create a new folder or page, click + New in the Notebook Navigator.
- All folders and pages can be moved using drag and drop.
- Right click (Ctrl + Click for Mac) on the Folder or page name for options including renaming or deleting items.
- Subfolders can also be created within other folders to better organize your information.
Add Data to Your Notebook
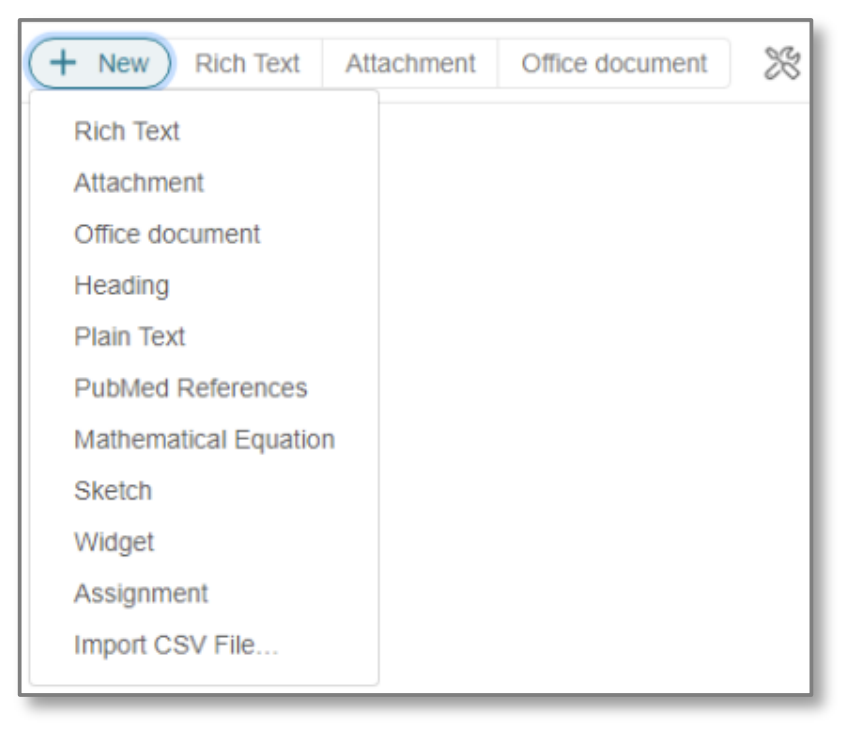
Data can be added to pages in your notebook using various entry types. To create an entry, select from the Add Entry toolbar at the top right of each page. The + New option reveals additional entry types.
To place an entry between two existing entries, move the cursor between the two entries and select from the insert tool bar.
Entry Types
Rich Text
Rich Text entries are the most common entry type in LabArchives. Rich Text allows for text formatting such as color and sizing. You can also add tables, embed images, videos, and links.
Attachments
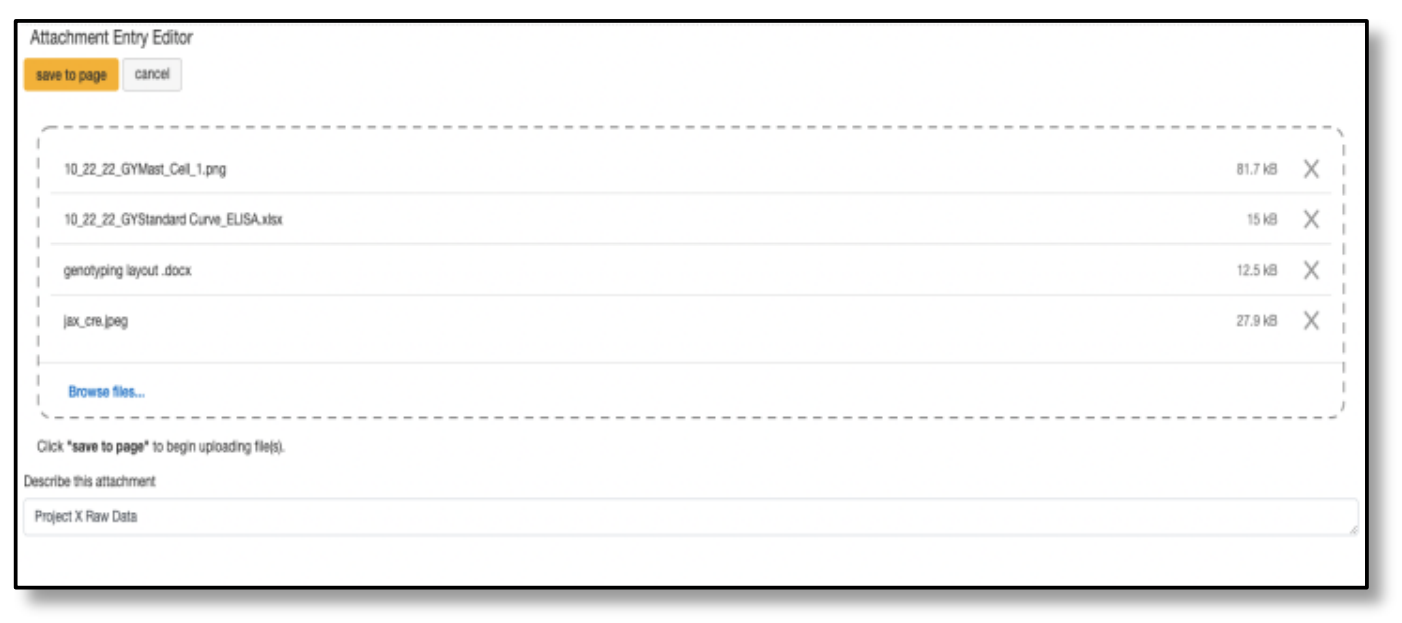
- Any file format can be uploaded to LabArchives. Recognized file formats will display a thumbnail.
- To add an attachment, select Attachment from the Add Entry toolbar or drag and drop the file.
- Microsoft Office Documents can be edited within LabArchives using Microsoft Office Online.
- Images including .jpg, .gif, .png can be annotated with the Image Annotator.
Widgets
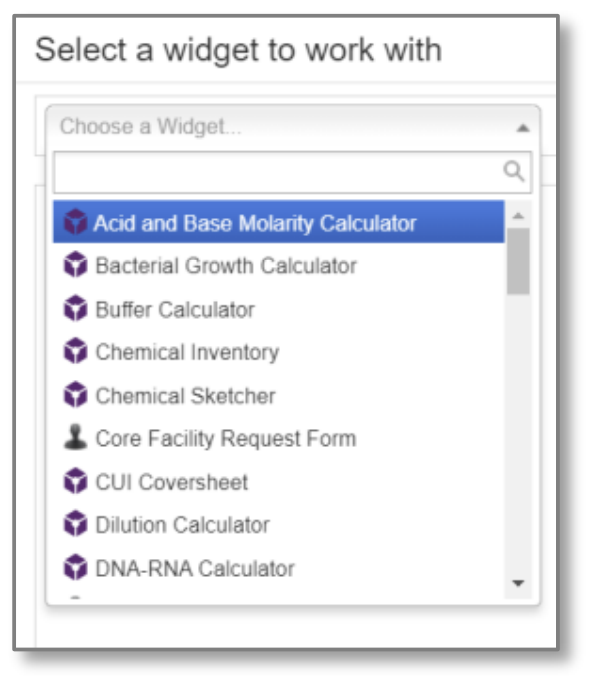
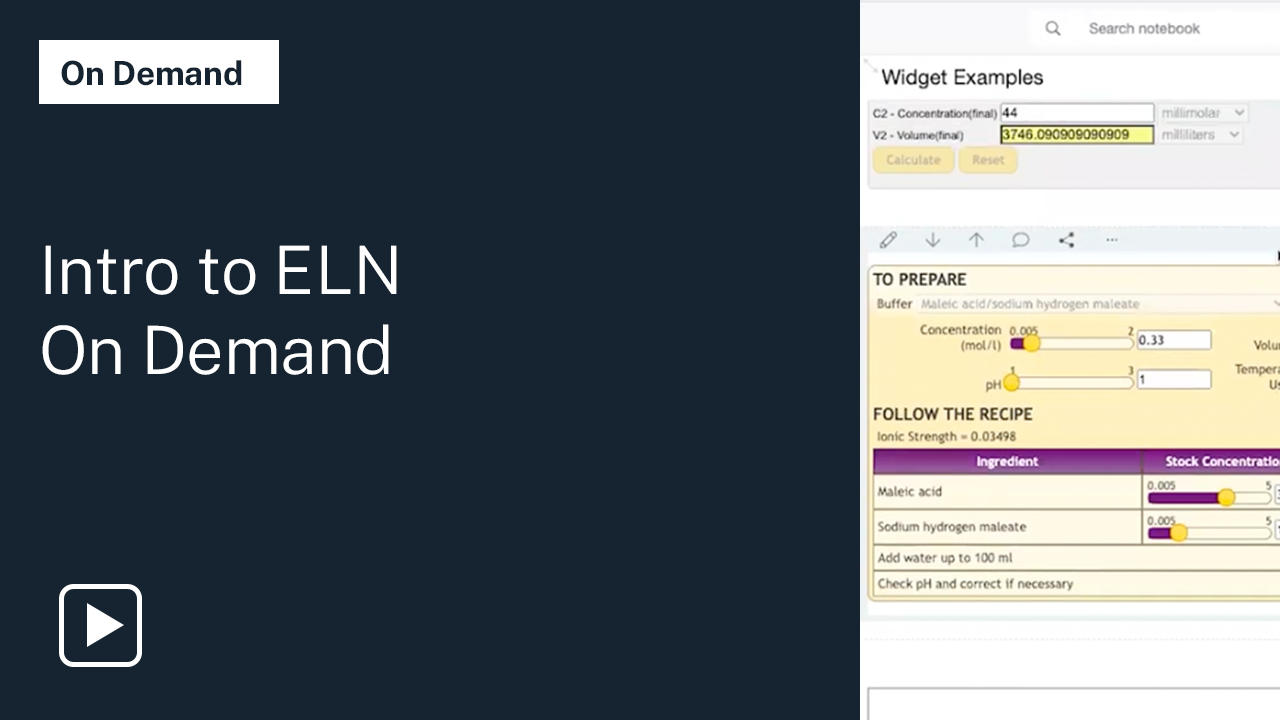
- Widgets allow users to extend the capabilities of LabArchives. You can create forms, templates, and even custom programs that operate within your Notebooks.
- To add a widget to your page, select Widget from the add entry toolbar. From here, choose the widget you want to use in your LabArchives Notebook, and it will be added as an entry.
- You can create custom widgets through the Widget Manager.
Working with Entries
Edit Entries
To edit an entry, click the Pencil icon. When finished editing your entry, click Save to page.
Tagging
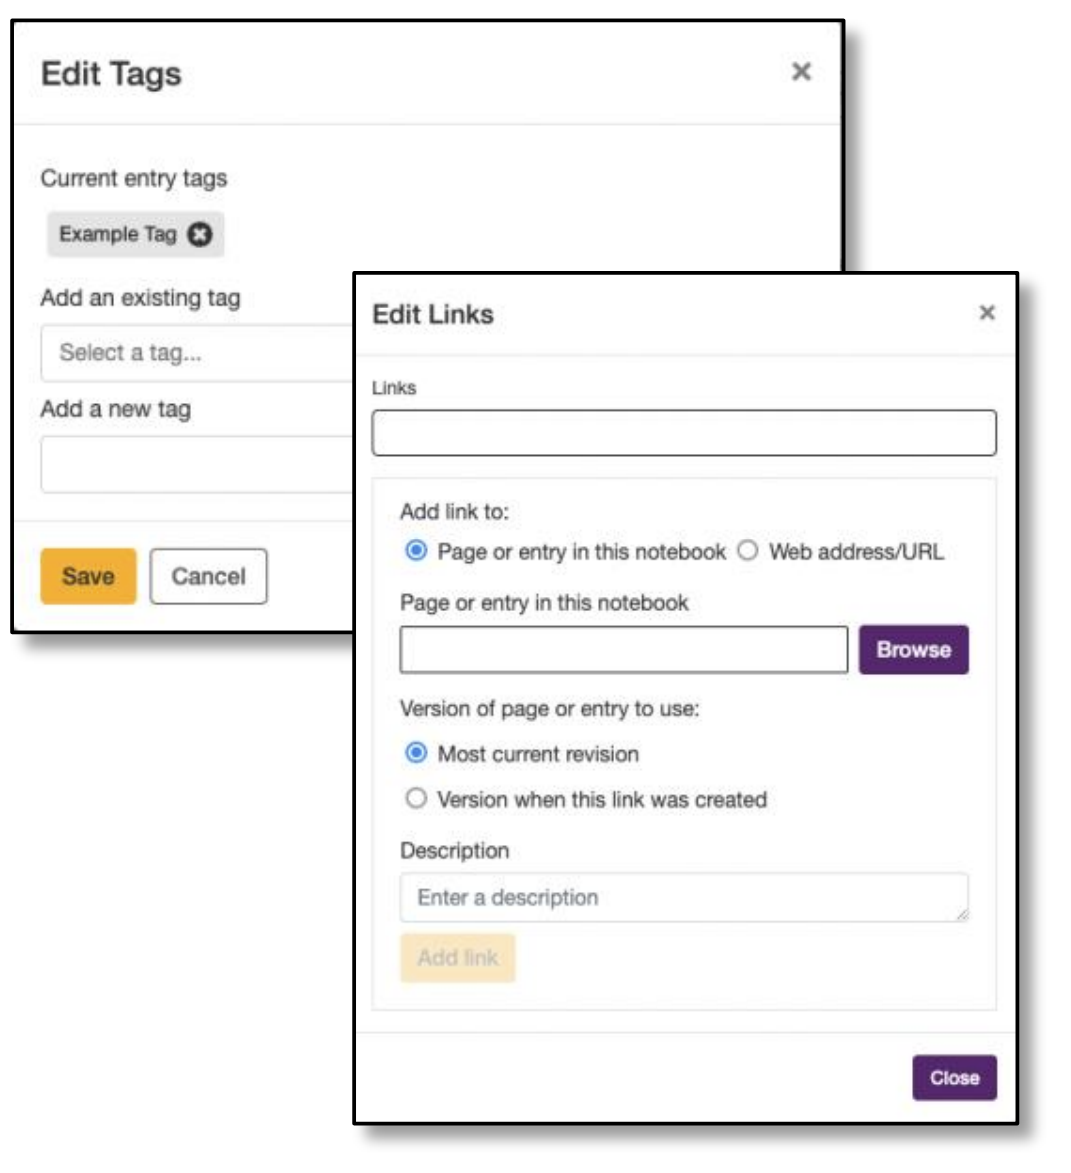
Tagging allows you to add metadata to your notebook. This builds an internal vocabulary with your team and improves search results. Click the Skewer menu and select Tags.
Linking
Links can be added to point to a web address or to another page or entry in your Notebook. Using Version when this link was created, you can link to an entry in its current state. Click the Skewer menu and select Links.
Commenting
To communicate with other members of your notebook, you can add a comment to an entry through the Comment icon. To alert a specific user use @mentions. Mentioned users can receive an email notification or an activity feed notification.
Review Past Versions
LabArchives stores every version of each entry and page that you make—whether it is an Attachment, a Rich Text Entry, or a Widget. Each revision is stored with an exact date and time stamp of when the entry was changed. You can always revert to a previous version of your data or undelete an item. Select Page Tools and View revisions for the complete page history.
Share Data in LabArchives
One of the most helpful features of LabArchives is its ability to share data. You can share data with individuals in your lab or with collaborators.
Share a Notebook, Folder, Page or a Single Entry
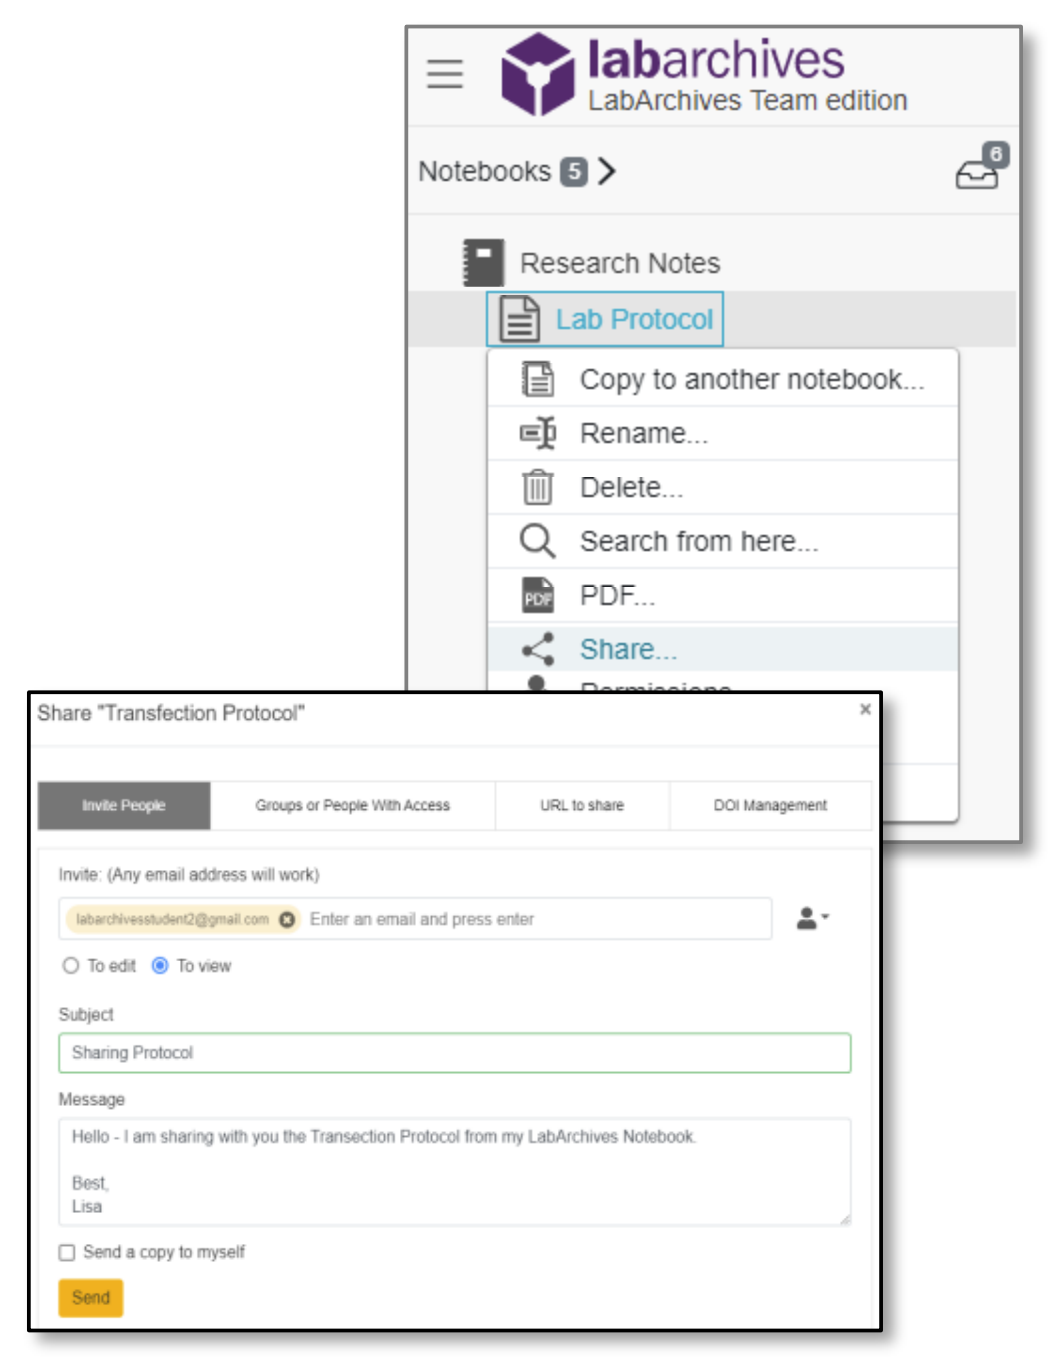
- To share a notebook, folder, or page right click (Ctrl + Click for Mac) on the name of the item and click Share.
- On the Invite People tab, type in the email address of the user and assign their level of access as either To Edit or To View and click Send.
User Management
- To manage all users with access to a notebook, click the Triple dot menu on the top right of the Notebook, select Notebook Settings, then the User Management tab.
- To add a new User to the notebook, select New User, type in their email address, and click Add User. To remove a user from the notebook, click the Trashcan icon.
Additional Help and Support
- Find help through the Information icon within LabArchives ELN
- Visit the knowledge base to browse by support topic
- Watch video tutorials
- Submit a question to our support team
- Register for one of our weekly webinars to attend a live training session

